Indexing
Indexing Queue
Indexing Queue is the user’s tool to classify and index documents within a scanned batch and export the images and their index values to the Cabinet; it also allows users to reassign document batches to other users or roles.
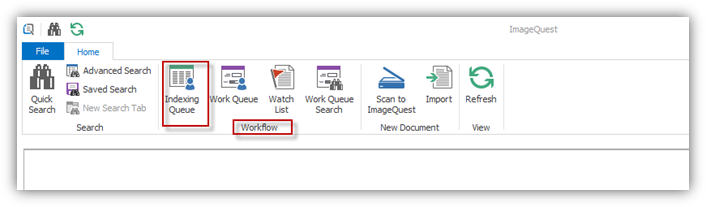
To view the Document Indexing screen, in the “Home” tab, locate the “Workflow” ribbon group and click “Indexing Queue” button as highlighted below.
Note: The “Add Document” permission is required to allow users to add a document for indexing. See the ImageQuest Administrator’s Guide: Manage Users and Roles for more information on this feature.
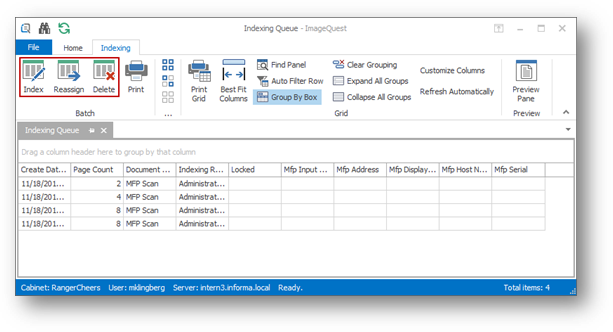
The Indexing Queue shows all available document batches for the user logged into IQdesktop as illustrated below. Document batches may be indexed, deleted or reassigned to another user or role.
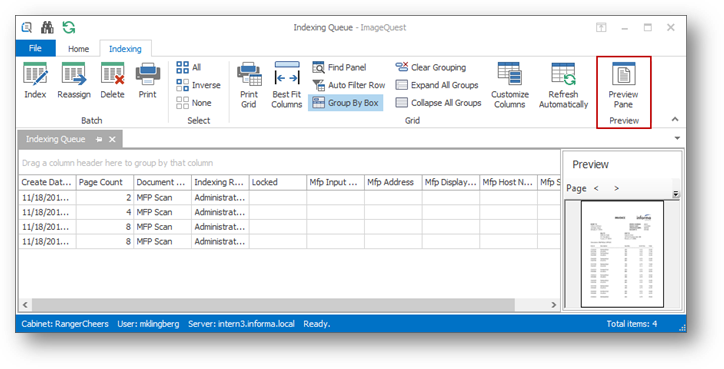
Note: Batches may be
previewed by opening the Preview Pane using the button shown
below.
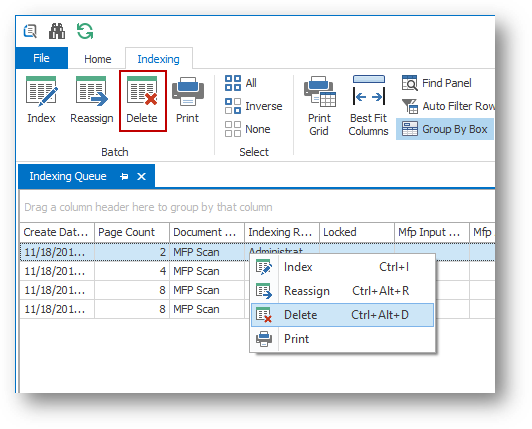
The Index feature allows users to save documents in ImageQuest and establish their attributes so that they can be efficiently searched for within ImageQuest. To index a batch, highlight the batch and click the Index button from the “Batch” ribbon group, double-click the batch, or right-click the batch and select Index.
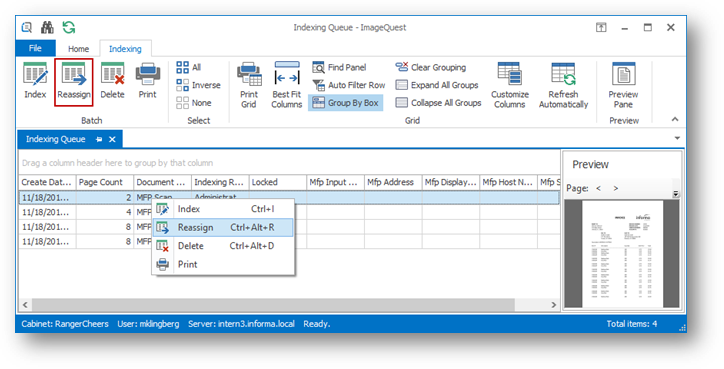
To reassign a batch to another user or role, highlight the batch and click the Reassign button from the “Batch” ribbon group, or right-click the batch and select Reassign. To reassign all batches, press Ctrl+A to select all and then select Reassign. The Ctrl key can also be used to select multiple batches.
In the “Batch Reassignment” window below, use the drop-down menu to select the User or Role to reassign the selected batch to as demonstrated and click “OK”. Alternatively, the reassignment button may be used under the “Batch” ribbon group.
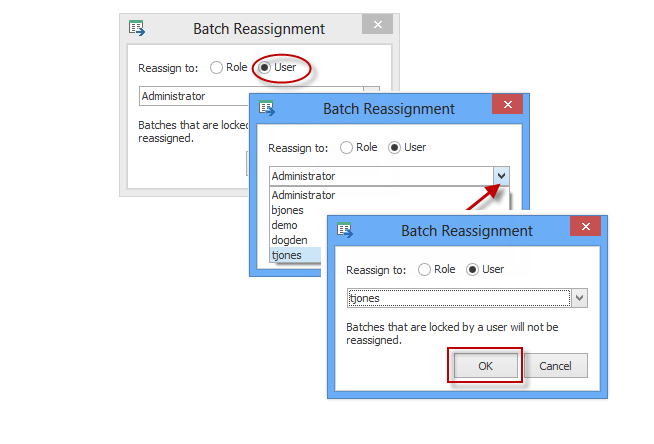
By reassigning the batch to a role, every member in that role has access to the document batch in their Indexing Queue. By reassigning to a user, only that specific user has access to the document batch. Once a user opens a batch, it will be locked for exclusive use for thirty minutes. If the indexing process takes longer than this, the lock will be expired and the batch will once again become available for indexing to other users in that role. Once a batch is indexed by a user, it is no longer available for indexing by any user.
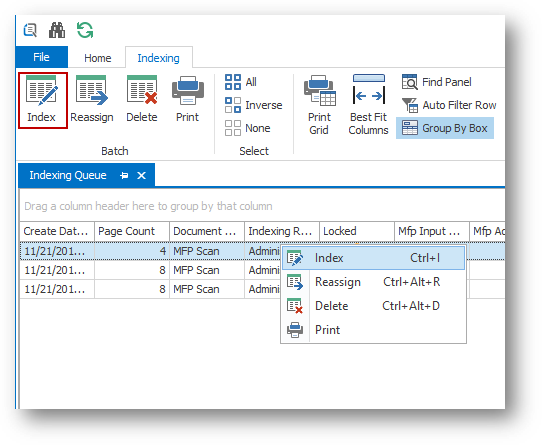
To delete a batch from the Indexing Queue, right-click on the highlighted batch and select Delete, or highlight the applicable batch(es) and select Delete from the Batch ribbon group as illustrated below. The user will be prompted with a confirmation window.
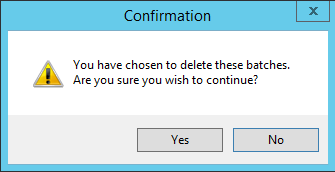
Note: The “Delete Batch” permission is required to delete a batch from the Indexing Queue.
Indexing and Committing Batches
Document batches are “time-stamped” with the specific time they were scanned.
To index one of the batches, highlight the batch and select Index from the “Batch” ribbon group, double-click the batch, or right-click the batch and select Index.
Note: Multiple batch selection is NOT available when indexing; only one batch can be indexed at a time.
The Indexer screen allows a user to view the
individual pages of the batch and to designate pages as the
beginning of documents for indexing. See below to locate the
“Pages” pane and the options for adjusting the view and
adding annotations. 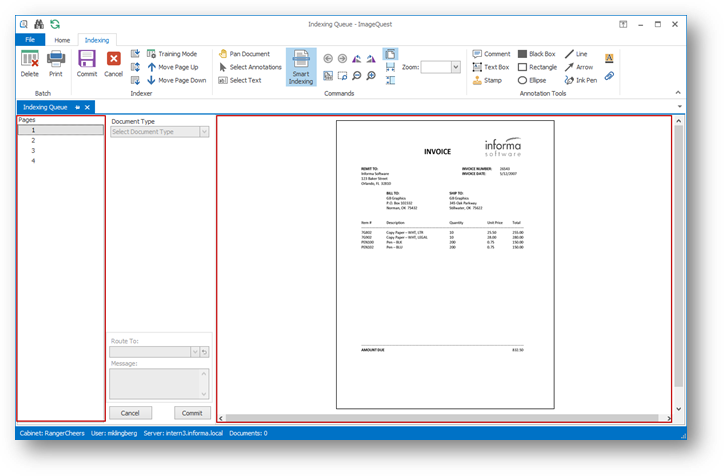
The “Pages” pane allows the user to click each page number to view each scanned page.
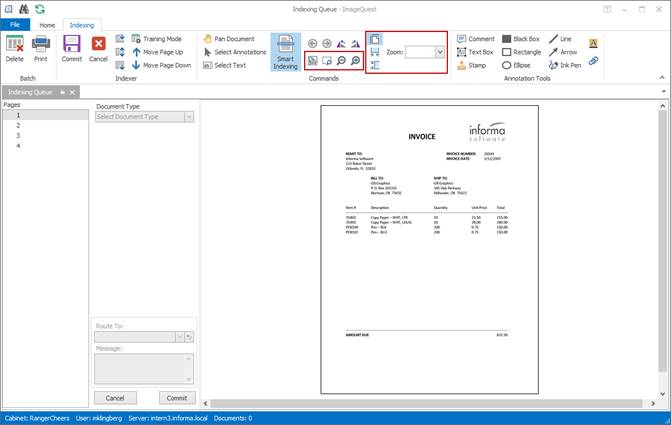
The “Zoom” features make the image larger or smaller in the document window. The user has options to Fit Entire Page, Fit Width, Fit Height, Actual Size (100%), Marquee Zoom, Zoom In, Zoom Out, and Zoom Percentage.
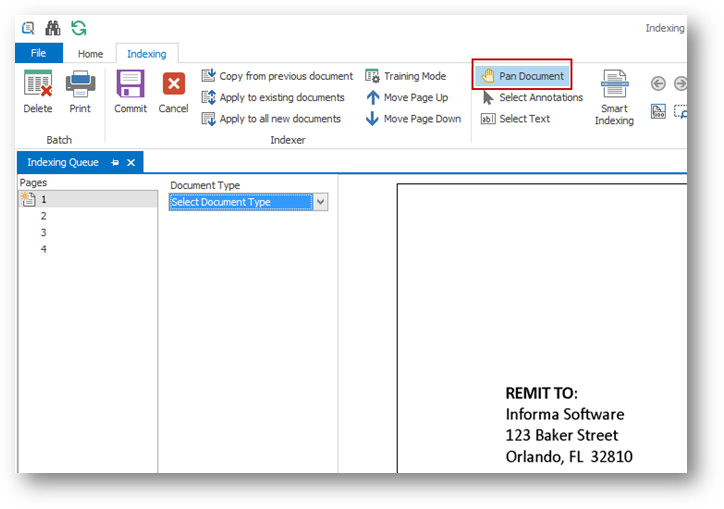
The “Pan” feature, as shown below, gives the user the ability to navigate an image when the zoom function is used and only part of the image can be viewed. When enabled from the ribbon, the user can use the cursor to move across the document to find the information they are looking for.
Click the Rotate Left and Rotate Right buttons rotate the image as displayed below. This rotation will persist when the page is saved in ImageQuest.
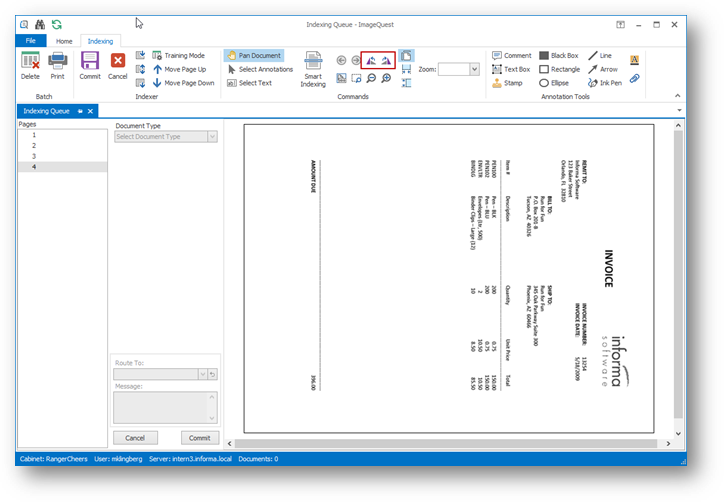
Note: If Full-Text OCR is enabled, it is possible for a manually-rotated page will be re-orientated by the OCR engine in order to read the text. Whether this re-orientation persists can be configured in IQadministrator.
The other options in the ribbon will be explained later in this document. For information on Annotations, see the PDF Annotation section. Note: both PDFs and TIFs can be annotated from the Indexer.
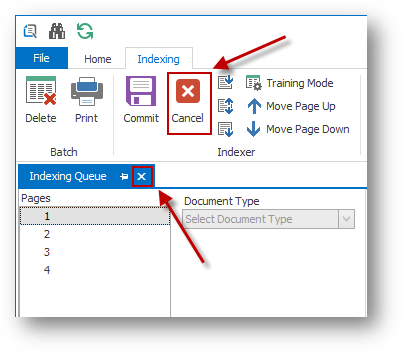
To close the window and return to the
Indexing Queue, click ![]() or press the “Cancel” button at
the bottom of the attribute window. To close the Indexing tab
altogether, click on the right of its tab as shown in the following
screenshot. Any changes made to the current batch will be lost
once the Indexer is closed.
or press the “Cancel” button at
the bottom of the attribute window. To close the Indexing tab
altogether, click on the right of its tab as shown in the following
screenshot. Any changes made to the current batch will be lost
once the Indexer is closed.
To begin indexing the
documents in the batch, designate the first page of the first
document by selecting it using the <SPACEBAR>.
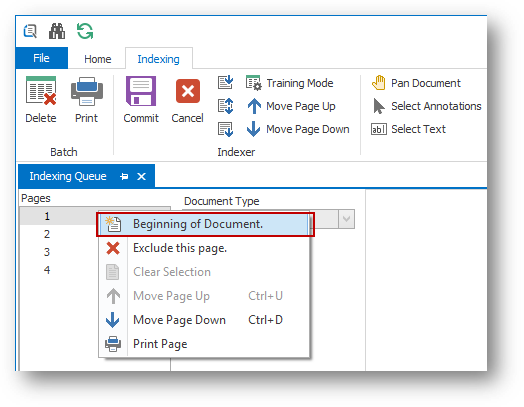
The ![]() icon will appear to the left of
the page number indicating that the page is the beginning of the
document. The user may also designate the first page by
right-clicking on the document page and selecting Beginning of
Document, as shown below.
icon will appear to the left of
the page number indicating that the page is the beginning of the
document. The user may also designate the first page by
right-clicking on the document page and selecting Beginning of
Document, as shown below.
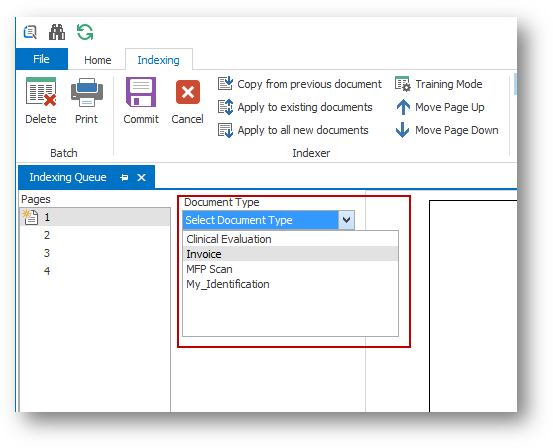
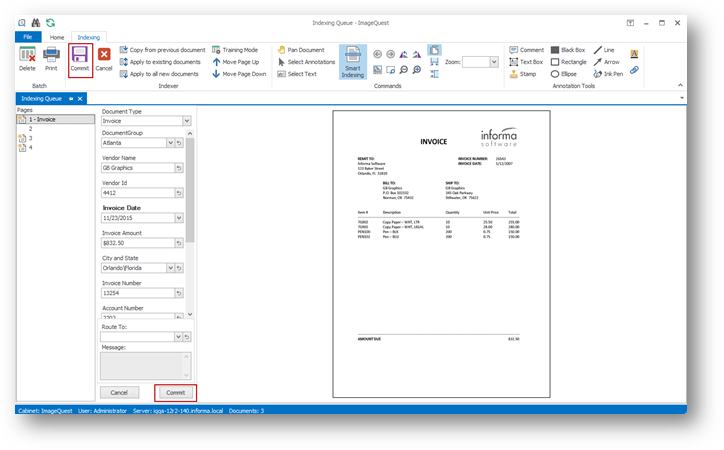
In the “Document Type” drop-down menu, select the document type to designate the first page of the document. For example, in the screenshot below, the first page of the document is an Invoice.
Note: If there are no document choices in the “Document Type”, see the section for “Managing Document Types” or contact your System Administrator.
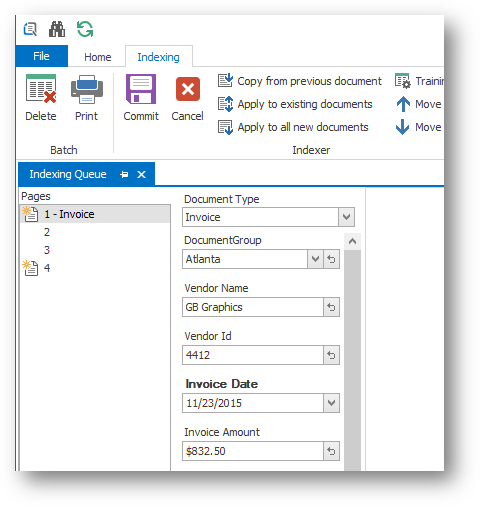
When a document type is selected, the indexing fields for that document type become accessible as shown below. The user may <TAB> through the index fields that appear for the document type; these fields are called “Attributes” and become the index values that are used when searching for a document within ImageQuest.
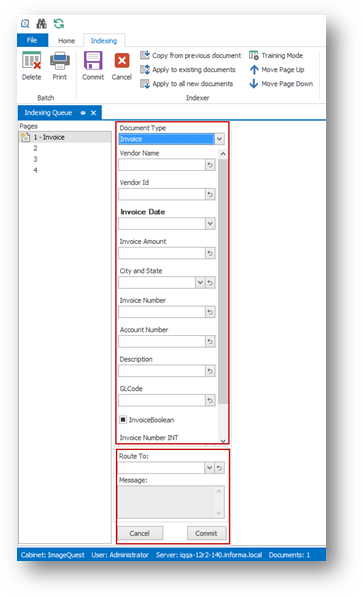
“Route To” (seen near the bottom) is a system attribute available for every Document Type that allows the user the option to select a User or Role to route the document to. In the screenshot below, “Tom Jones/tjones (User)” is selected from the “Route To” list for the highlighted Invoice. If this batch were committed now, a four page Invoice would be routed to tjones’ “Work Queue”.
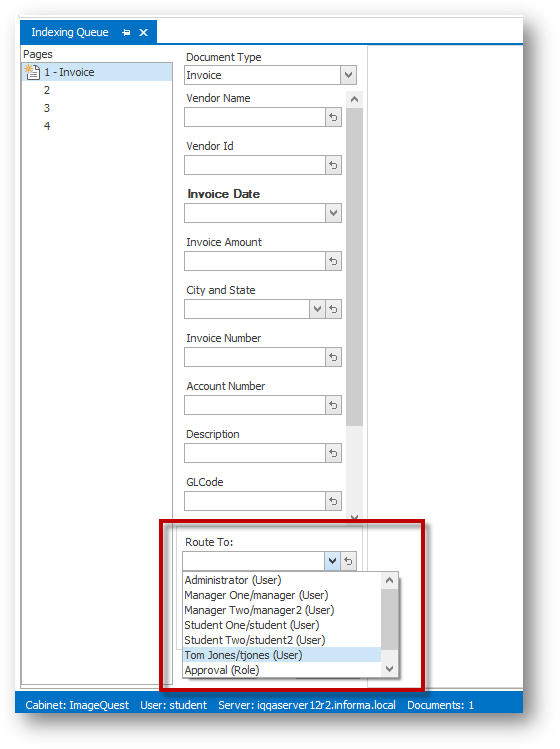
Optionally, an email notification can be sent to the “Route To” user or users (if routed to a Role) to let them know a document has been routed to them. See the “Email Routing Configuration” section in the ImageQuest Administrator’s Guide for more information.
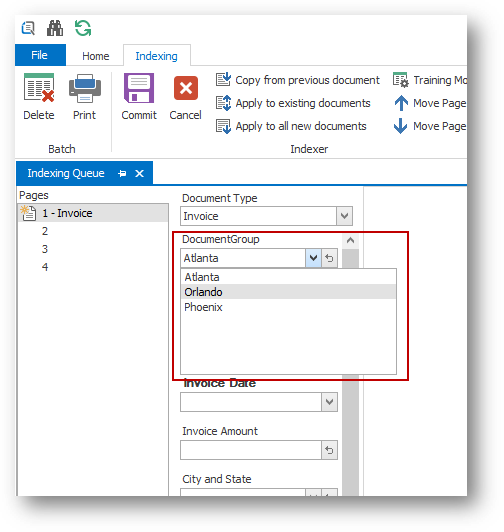
“DocumentGroup” is also a system attribute, but will only be available to users that are assigned to at least one Document Group in IQadministrator. Document Groups allow users to organize documents and further restrict access to Users or Roles in addition to the permissions set at the Document Type level. Once a Document Group is created and Users or Roles are added, only Users or Roles in that group can assign documents to the group or search and view documents assigned to the group. See “Manage Document Groups” in the ImageQuest Administrator’s Guide for more information on managing Document Groups.
In the example below, the indexing user is a member of three Document Groups, “Atlanta”, “Orlando” and “Phoenix”. Each group represents a regional location and the Sales Managers for each location are assigned to their respective Document Group. The first invoice is for Orlando and needs to be assigned to the “Orlando” group. To do this, the indexing user simply selects “Orlando” from the DocumentGroup list during the indexing process. Once the document is committed, only the Sales Managers that are assigned to the “Orlando” group will be able to search and view this Invoice.
As additional documents are indexed, separate DocumentGroup assignments can be made as needed. If a particular document does not need to be assigned to a Document Group, the user does not make a selection and the default assignment is (None). If a document is not assigned to a DocumentGroup, any user or role that has permission to the Document Type will be able to search and view the document once it’s committed.
If a list attribute is being assigned and a new item must be added to the list—e.g., a new Company must be added—then the new item may be added during indexing if the user has the “Add List Items” permission.
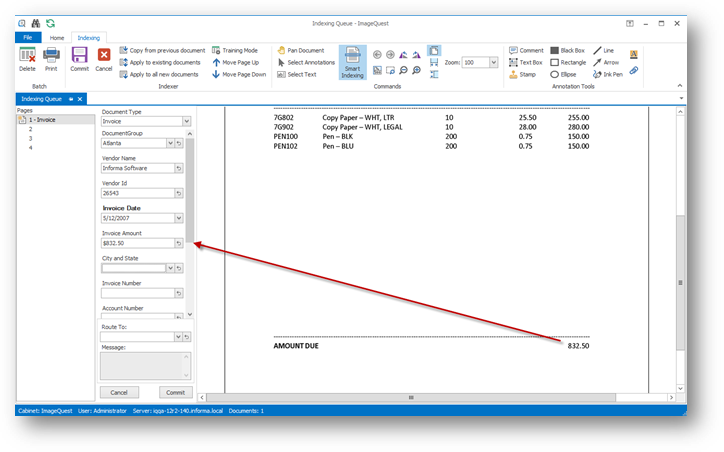
If attribute data appears on multiple pages, the attribute data will remain when selecting different pages of a document as highlighted below for page 2. This is useful if the index values are located on a page other than the beginning page of the document, for example, an invoice total.
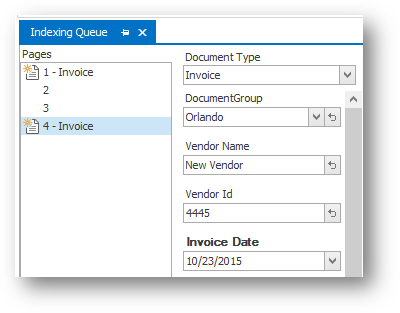
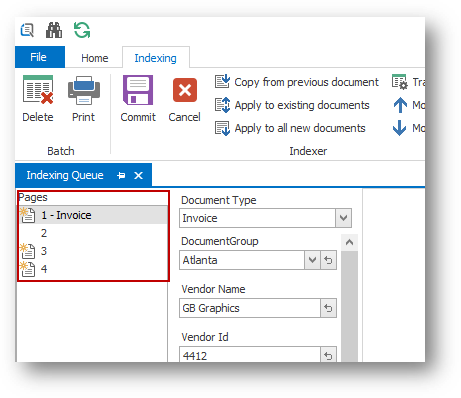
Once the last index field is filled in for a document type, <TAB> to return to the “Pages” pane, or click on the next page to index the additional documents with each corresponding document type and completed index values as shown below. For example, Page 4 is the beginning page of another document of the type, “Invoice”. The attributes and indexing fields can be filled in for indexing prior to committing this batch.
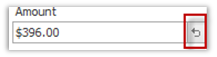
“Clear the current value”
allows users to clear attribute information that was entered or
selected during a search or edit. This feature is available
in all IQ search, edit or indexing windows. To clear a value,
click the ![]() button to right of
the entry field.
button to right of
the entry field.
Note: The “Clear the current value” feature is not available for True/False or required attributes in the edit or indexing windows.
To commit the batch to ImageQuest, click on the “Commit” button, as shown below.
After clicking “Commit,” The “Confirmation” window appears below; click “Yes”. The batch will be committed. After a few seconds, click “OK” in the “Completed” window. If you click “No,” you will return to the active batch.
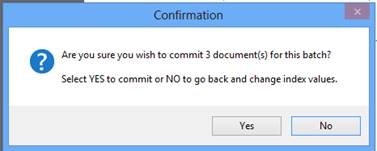
The “Confirmation” dialog box will report the number of documents to be stored in the Cabinet. Pages without icons next to them are not counted as part of the number of documents as illustrated below. For example, Page 2 will be attached to Page 1, which is Document Type, “Invoice”. This batch results in one 2-page Invoice document and two 1-page Invoice documents being sent into ImageQuest.
Note: If required index values were not entered, a “Document Error” screen will show which page and which document has the missing value. Click the “Abort” button to stop the batch commit and make any necessary corrections.
Once a batch is committed, the user will return to the Indexing Queue so they may continue indexing remaining batches as needed.
Page Features in the Indexing Queue
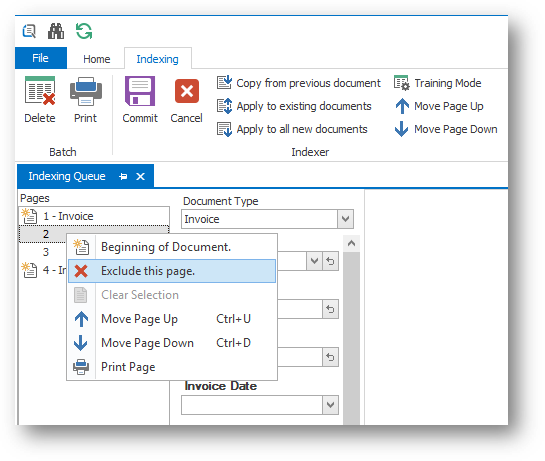
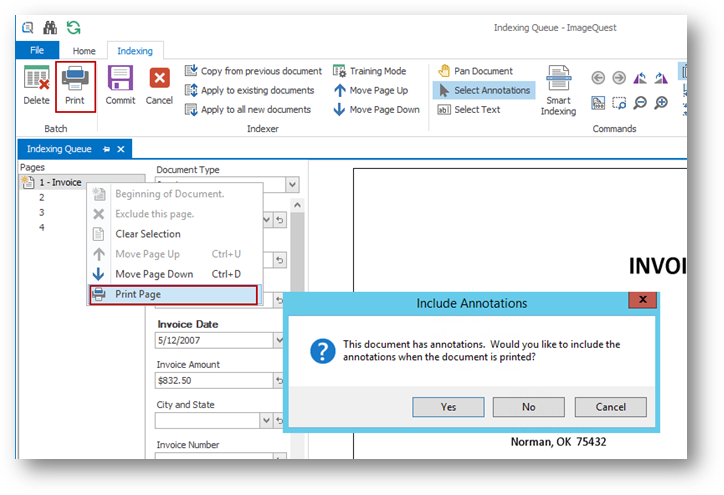
In the Pages section of the indexing screen, the available options on the right-click menu are Beginning of Document, Exclude this Page, Move Page Up, Move Page Down, Clear Selection, and Print Page. See below. You can exclude a page from a batch by highlighting and right-clicking it to select Exclude this page. When the document batch is committed, the images marked to be excluded will not be included with the document.
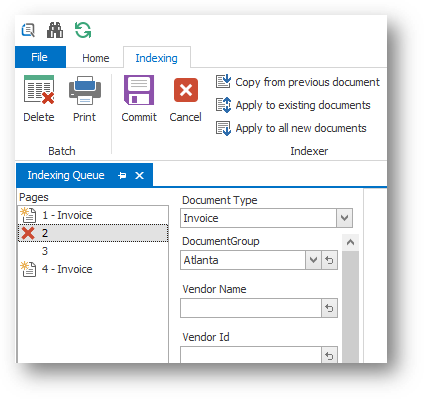
For example, as shown below, Page 2 has been excluded. When this batch is committed, we will have two documents in ImageQuest: one, two-page “Invoice” document consisting of Pages 1 and 3 and one, single-page “Invoice” document consisting of Page 4.
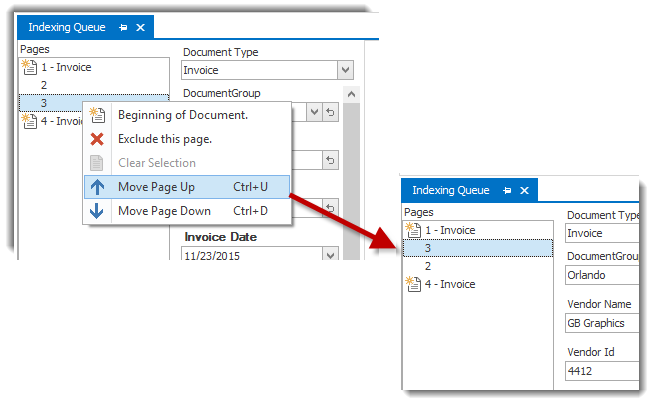
Changing the order of the pages in a batch is possible by right-clicking on a page and selecting Move Page Up (Ctrl+U) or Move Page Down (Ctrl+D) as modeled below. For example, Page 3 has been highlighted and moved up; as a result, the document type “Invoice” is now a three-page document consisting of Pages 1, 3, and 2, and the second “Invoice” document consists of only Page 4.
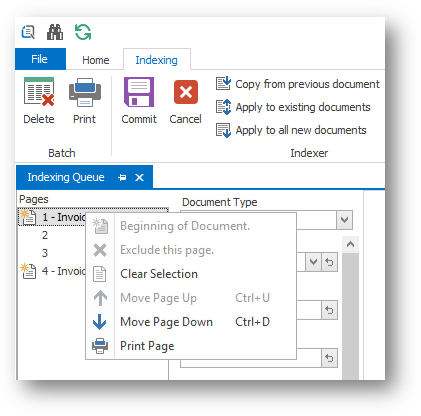
Clear Selection, as shown below, is used to deselect a page that has already been designated as a new document or that has already been excluded.
Print Page is used to print a single page of the document. If annotations have been added to the document, a prompt will appear asking if you would like to print with or without the added annotations. Clicking the print button in the ribbon bar will bring up a prompt to print the whole batch. When printing the whole batch, added annotations are not included.
Training Mode
The Training Mode feature allows focus on areas of the image to increase visibility and ease of indexing. You can use this mode to configure the document template for review. To enable this mode, click Training Mode button in the “Indexer” ribbon group.
Next, select a Document Type and use the Zoom functions to change the view of the document. Under each corresponding field, there will be a Save Image Position button as shown below.
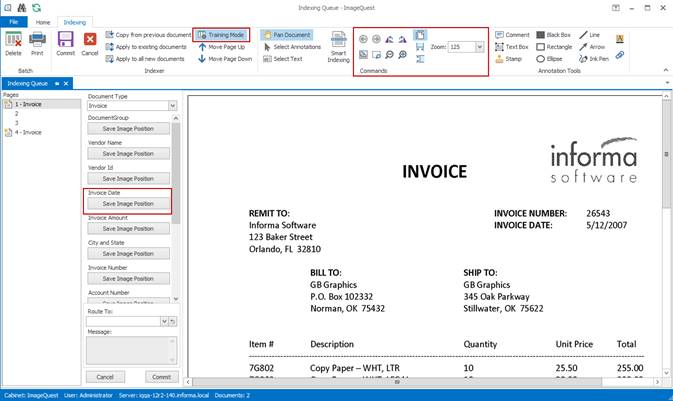
After you zoom in on the desired section of the document, click Save Image Position to save the current position or magnification.
Once the image positions have been saved, click the Training Mode button again to return to indexing. From now on, the trained document type will automatically zoom to the appropriate areas as you tab through the attributes. Trained document types are user and machine specific, meaning that if another user logs into the same client PC, the document types will need to be retrained.
To remove training from a specific document type, enable Training Mode, set the zoom level to “Entire Page” and click Save Image Position for each attribute.
IQ Smart Indexer
IQ Smart Indexer performs “IQ Smart Indexing” OCR on .tif and .pdf files in the Indexing Queue to allow for quick “click and drag” indexing in the document Indexer. This feature allows users to index documents more efficiently and can reduce, if not eliminate, the need to type data.
IQ Smart Indexing can be performed on the batch. To begin IQ Smart Indexing, highlight a batch and double-click it. This will open the main Indexer screen.
Note that all the tools for manual indexing (Training Mode, Pages, Zoom, Rotate, etc.) are still available, but the “Smart Indexing” button is enabled as well. The “Smart Indexing” button must be enabled and selected in order to use IQ Smart Indexing.

To use IQ Smart Indexing on the documents in
the batch, designate the first page of the first document by
selecting it using the <SPACEBAR>. The
![]() icon will appear to the
left of the page number indicating that the page is the beginning
of the document.
icon will appear to the
left of the page number indicating that the page is the beginning
of the document.
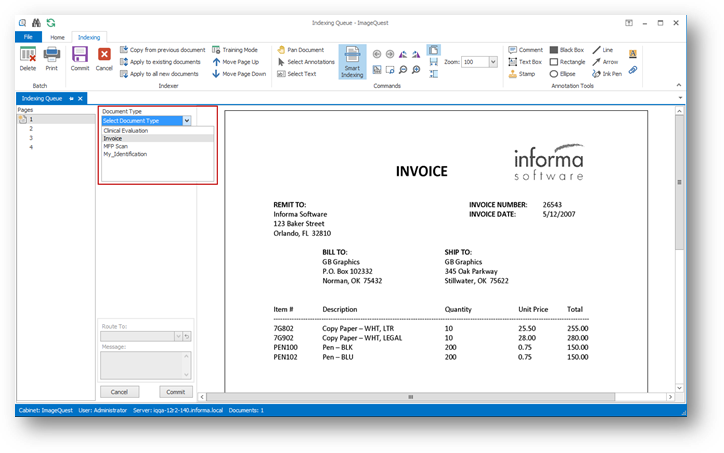
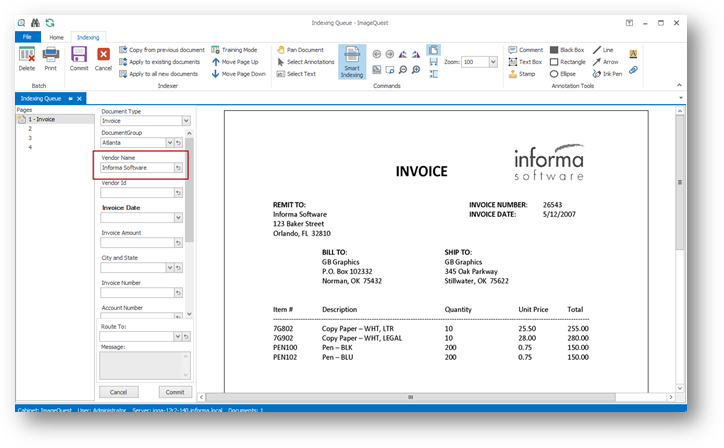
In the “Document Type” drop-down menu, select the document type to designate the first page of the document. For example, as shown on the next page, the first page of the highlighted document is an invoice which means that this page is designated as the first page of the document type, “Invoice”.
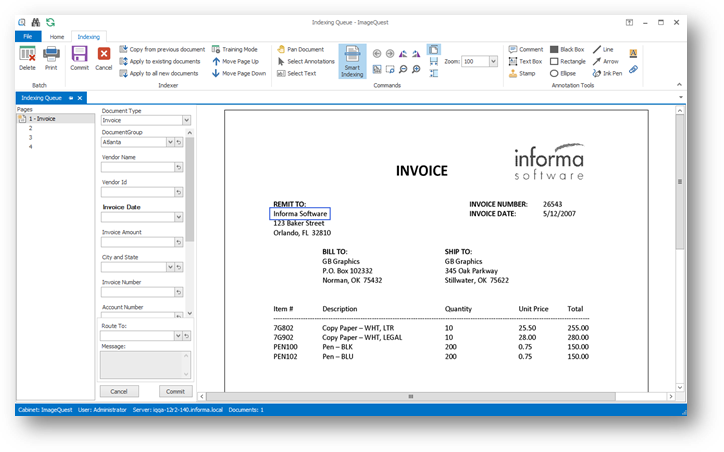
At this time, IQ Smart Indexing can be performed. Tab to the first attribute to be indexed. Next, locate the desired text in the image displayed in the Document window with the mouse cursor. Press and hold the left mouse button and “rubber band” over the text to capture. Release the left mouse button to populate the attribute with the selected text.
In the example below and on the following page, the user is using IQ Smart Indexing to populate the “Vendor Name” attribute with the value “Informa Software” by “rubber banding” over the text on the image in the Document Window.
IQ Smart Indexing will then auto tab to the next attribute so the user can continue indexing the document. See below. The user has also populated “Invoice Number” with “26543”, “Invoice Date” with “5/12/2007”, and “Invoice Amount” with “$832.50”.
Assign and index additional documents in the batch as needed, and click “Commit” to commit the batch to ImageQuest. Once a batch is committed, the user will return to the Indexing Queue to show the remaining batches to be indexed.
Note: Any combination of IQ Smart Indexing and manual indexing can be performed on the same document.