Viewing a Document
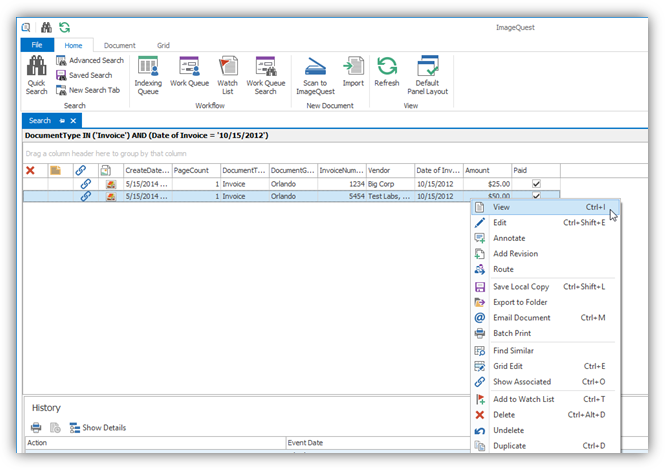
Once the search function locates the desired documents, the documents may be viewed. To view a document, double-click it or right-click on it to open the menu and select View Image (Ctrl+I) as illustrated below.
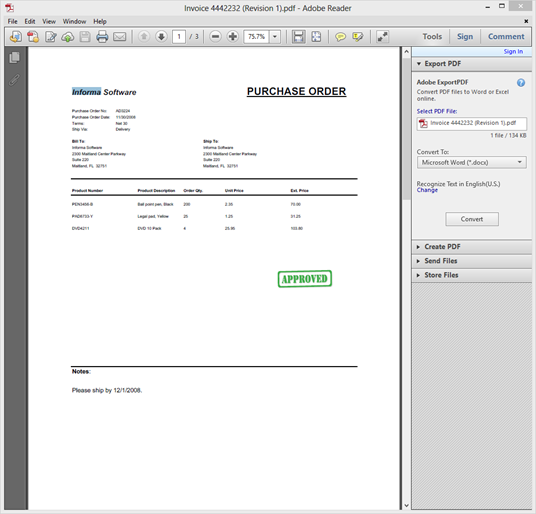
A document like the sample below is displayed in the user’s default image viewer; this figure shows a PDF file opened in Adobe Acrobat Reader.
Configuring the View
IQdesktop is highly configurable, allowing the user more screen “real estate” to display the information about the documents in a way that is most valuable to the user. The user also has leverage to emphasize any information displayed in each document. For example, by selecting which data columns are more desirable in sorting, grouping, and criteria for filtering.
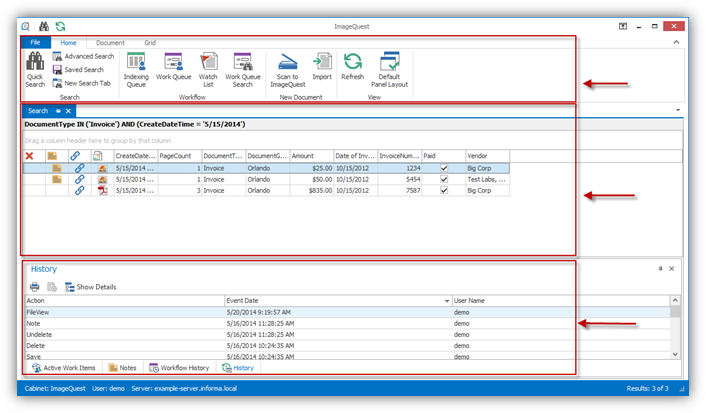
IQdesktop is comprised of three main areas by default, the ribbon area at the top of the screen, the grid area in the middle, and the Notes/History/Workflow History/Action Work Items panels at the bottom as shown below.
This screen can be customized in a variety of ways.
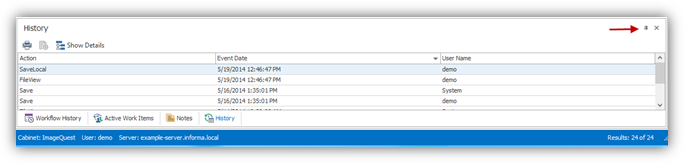
To increase screen “real estate”, locate the pushpin icons on the “History”, “Workflow History”, “Active work items” and “Notes” panels as highlighted below. Unpinning the panels causes them to slide out of the way. To access the hidden panels, simply hover over the tabs. Click the pushpin again to allow the panels to always be shown on the screen. The panels may also be closed altogether by clicking on the X to the right of the pushpin.
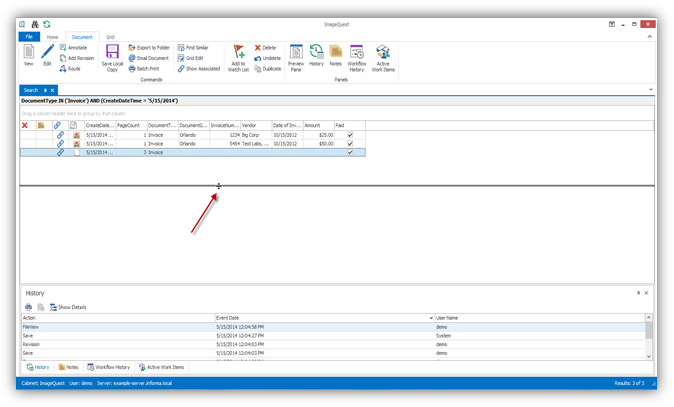
Another way to adjust the screen “real
estate” is by moving the mouse cursor between two panels until the
![]() cursor
shows up. Once
the cursor changes to the double arrow click and drag the cursor to
expand the panel as shown below.
cursor
shows up. Once
the cursor changes to the double arrow click and drag the cursor to
expand the panel as shown below.
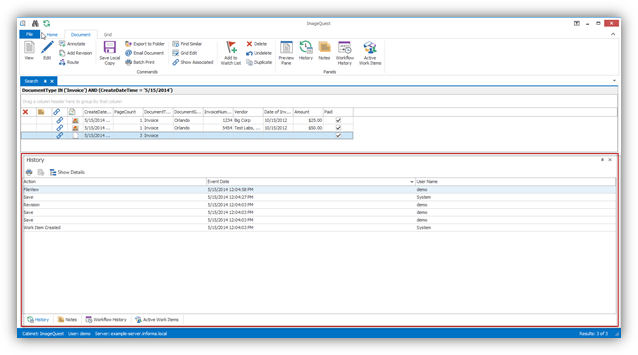
The four panels (History, Workflow History, Active Work Items and Notes) can also be moved around the screen and customized. To move one of the panels, first make sure that the panel is pinned. Next, click and drag the panel tab name to one of the drop position indicators as shown below. Release the mouse button when the panel shadow preview appears in the location you want.
Below,, the “History” panel is moved next to the “Notes” panel.

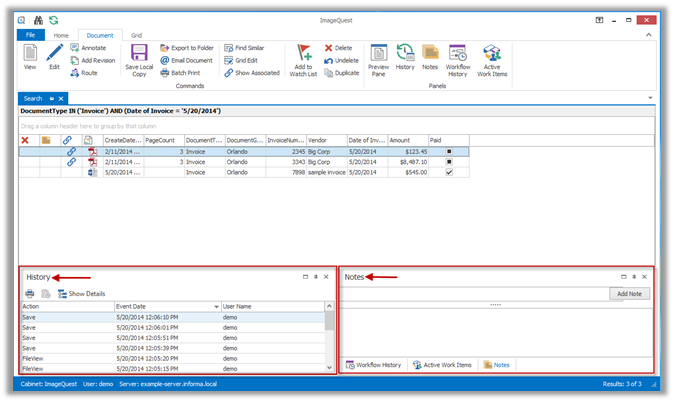
The result of this move is shown below.
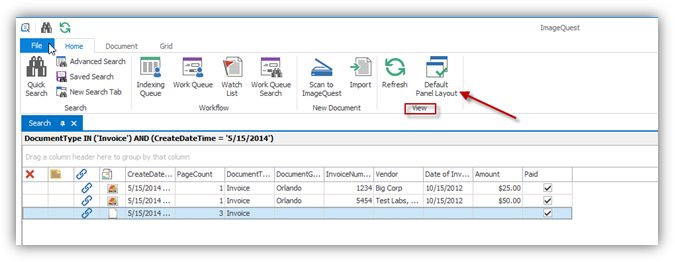
To return to the default window layout at any time, go to the “View” ribbon group and select Default Panel Layout as illustrated below.
Panel positions are saved automatically per user/per machine. If a user changes the view of the screen and logs out, once he/she logs back in, the screen view will return.