OCR Settings allows the administrator to enable or disable OCR features and manage the IQ OCR Full Text Service.
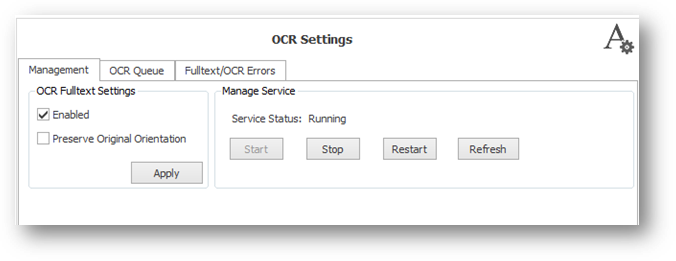
To enable or disable Fulltext, check or uncheck the box and click “Apply”.
The Fulltext feature gives you the option to keep your original document orientation by using the Preserve Original Orientation option. If this is not checked, the OCR service may re-orient pages so that their texts are right-side-up.
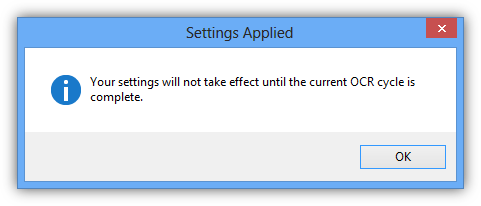
If you make changes and click Apply, The message below will appear notifying the administrator that the changes will not take effect until the current OCR cycle is complete.
The Manage Service feature allows the ImageQuest Administrator to confirm the status of the IQ OCR and Full Text Service and Stop, Start and Restart the service as needed. Client machines can also manage the service remotely provided their Windows user account has permissions to start and stop services on the ImageQuest server.
The OCR service benefits from multi-core, hyper-threaded and multi-CPU systems (up to 4 cores) resulting in much faster processing times.
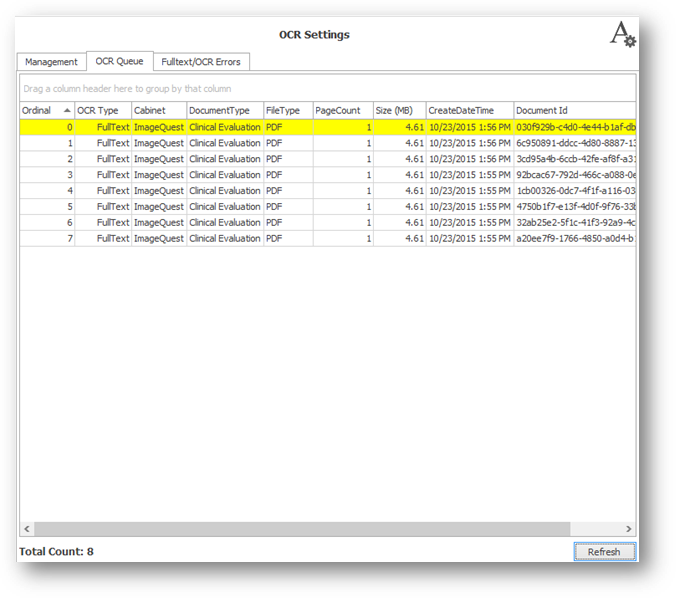
There are two other tabs under the OCR settings menu (resulting in 3 total tabs under the OCR Settings menu) : OCR Queue and Fulltext/OCR Errors. The OCR Queue shows the list of documents across all ImageQuest cabinets that are waiting to Full-Text extracted and the document currently being processed highlighted in yellow.
Double clicking on a row will launch the application associated with the file type allowing you to view the image.
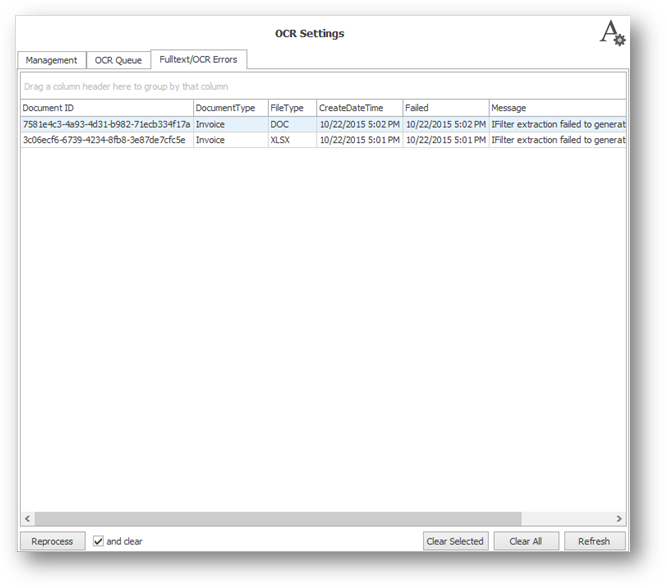
The “Fulltext/OCR Errors” tab shows a list of documents that have failed the OCR process for one reason or another. Records in this view can also be double-clicked on to view the failed document. There is an option at the bottom of the window to reprocess the selected documents which may or may not re-OCR successfully depending on what the original error message was.